Repairs · Hamilton
Garage Door Safety Inspection
During the power outage you pulled the red cord and tried to lift the door by hand. It felt like lifting a piano, and when you let go part-way it sank back toward the floor on its own.
Garage Door Safety Inspection
In plain words
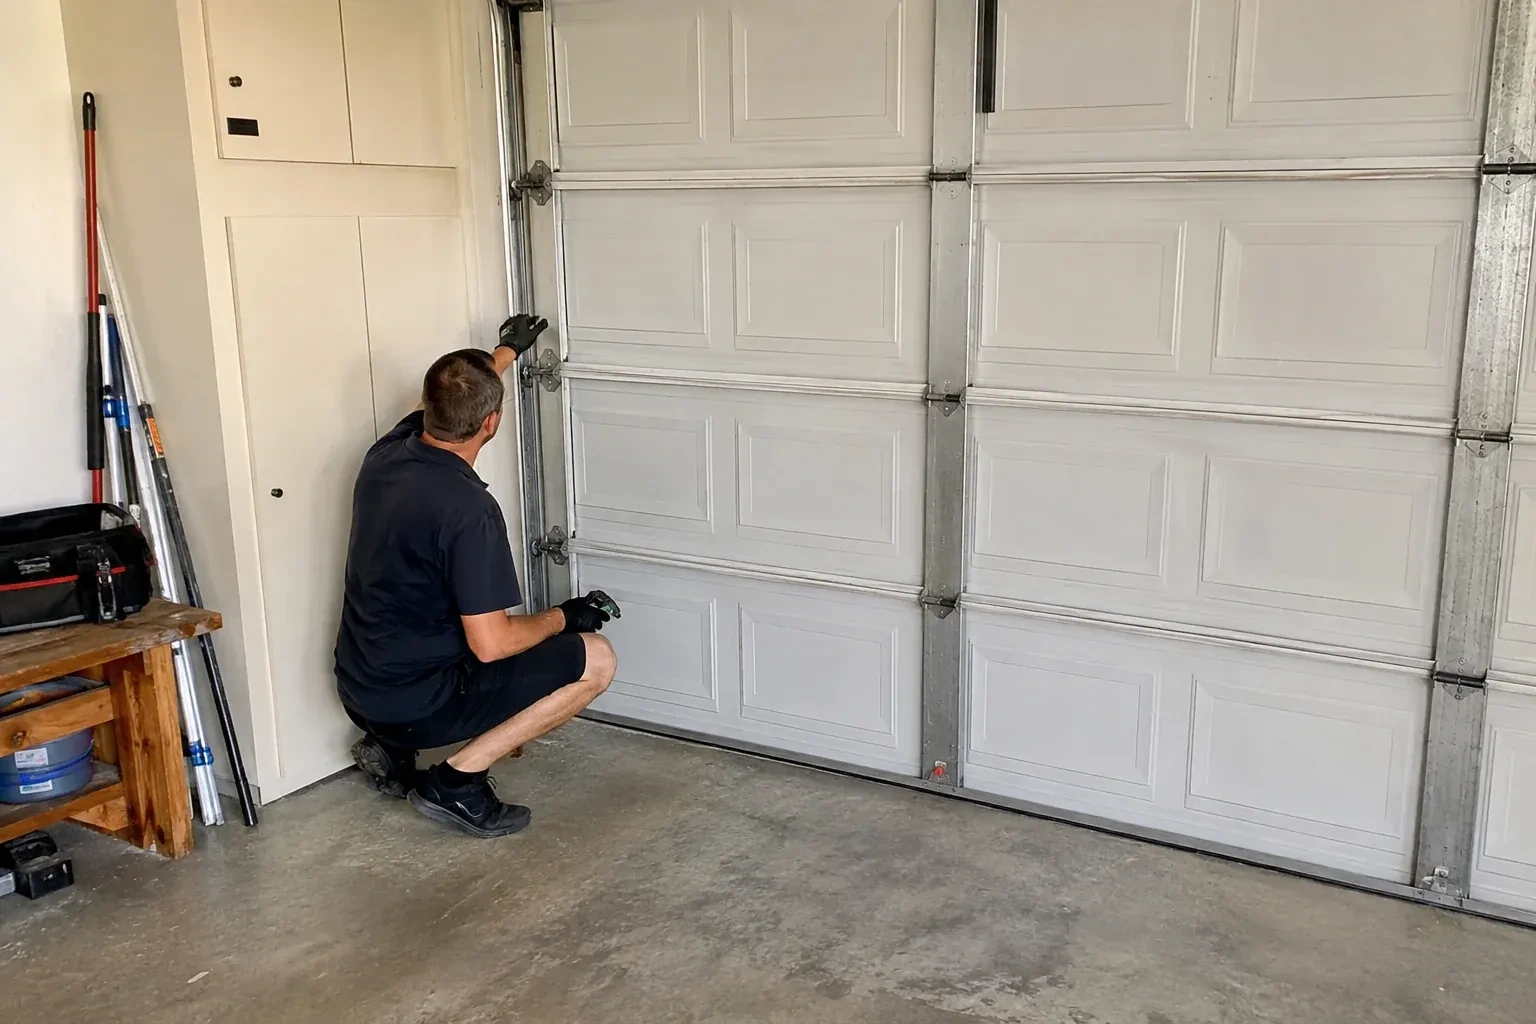
Winter is hard on the bottom of a garage door, and an inspection here pays particular attention to it. Slush and salt collect where the cables loop onto the bottom brackets and where the lowest hinges sit, the bottom seal freezes to the slab and the opener is asked to break it free, and photo eyes near the floor pick up a film of road grime. The technician checks each of these, along with the strain a winter of hard starts has put on the springs and the opener drive, and leaves you with the small habits that carry the door comfortably to spring.
How the visit goesIt has been a hard winter. The bottom seal froze to the slab twice, the opener groaned each morning, and one afternoon you noticed a cable on the left side hanging with a little slack in it.
Hamilton
How the visit goes
The opening itself
The door is only as good as what it hangs from and closes against. The technician checks the header for sagging where the spring anchor and opener bracket carry their loads, the jambs for soft or split wood where the track brackets bite, and the floor for a lip, heave or ridge that stops the bottom section early. The bottom seal and perimeter weatherstrip are examined for splits, hardening and daylight, since a seal that drags or freezes down puts strain on the counterbalance and the opener. Where a fastener has pulled loose from the framing, that is noted as a repair item rather than tightened into wood that will not hold it.
Sorting the findings at the door
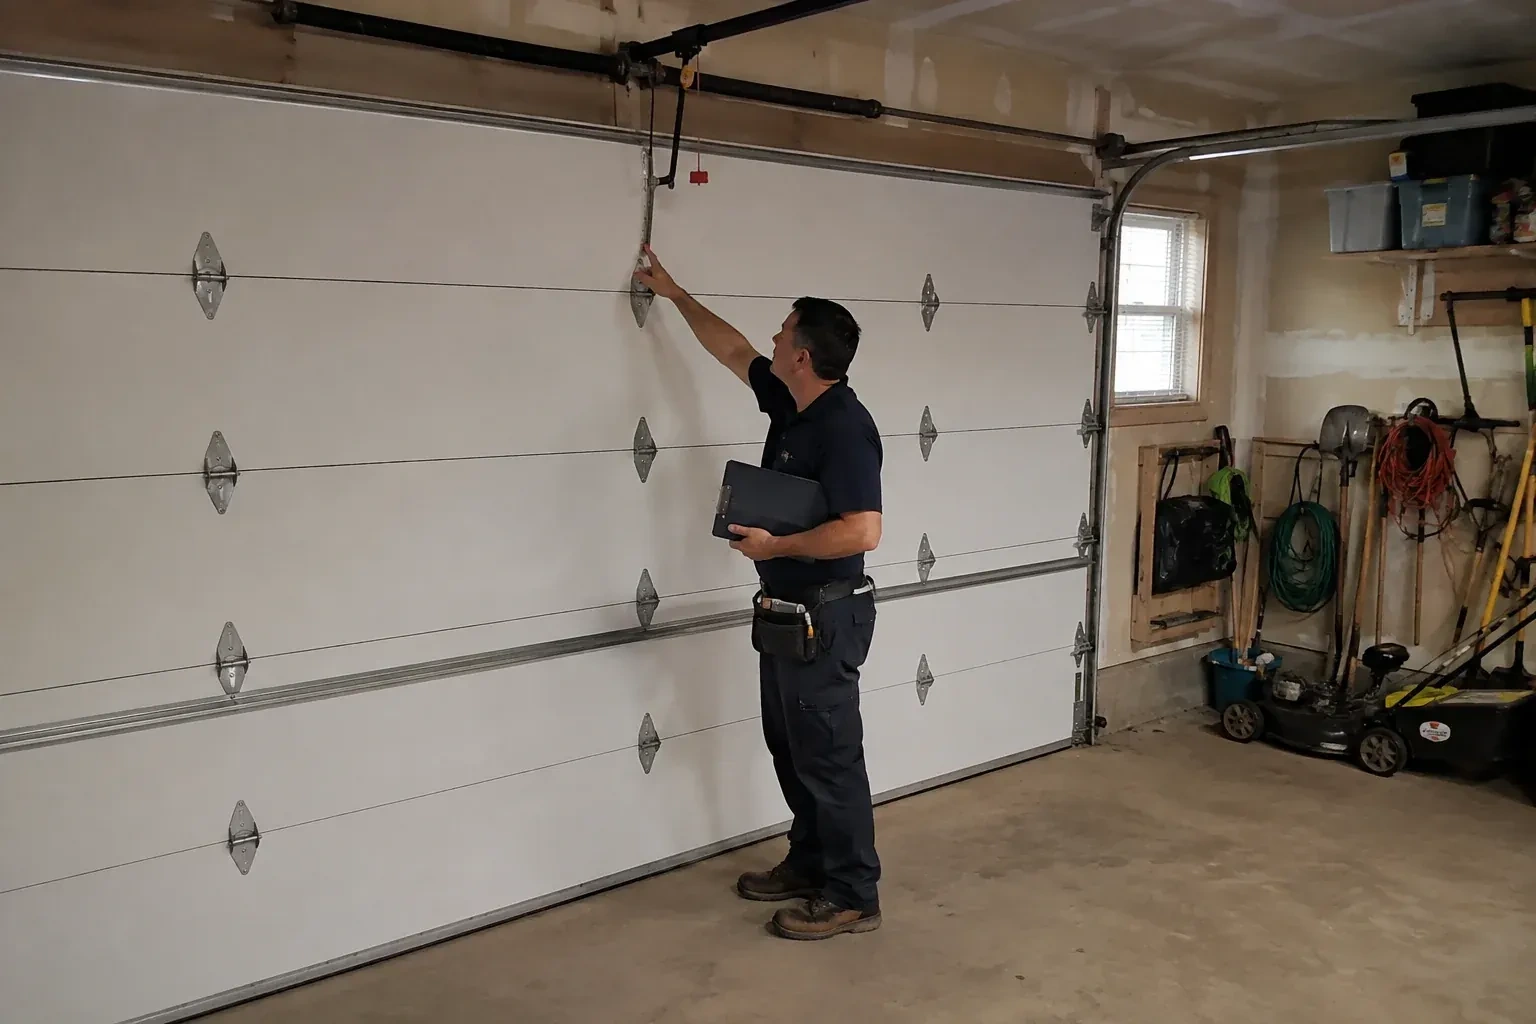
Before packing up, the technician walks you through what was found, in front of the door so each item can be pointed at. Findings are sorted into four groups: in good order, maintenance, planned repair, and stop-use. For each repair, you hear what the part does, why it matters and roughly what the work involves, so you can decide in your own time. If anything falls into the stop-use group, you are shown the reason and the door is left in a safe position with the opener disconnected until that item is corrected. The written record follows, with the model numbers, the measurements and the photographs.
Keeping the opening clear and the controls sensible
A few placement decisions carry on after the visit. Bins, bikes and the snow shovel live away from the opening so the door never comes down on them and the cables never go slack. The wall control stays mounted high enough that a small child cannot reach it and where whoever presses it can see the door. Remotes are kept out of toys and glove compartments that children play in. If the household includes anyone unsteady on their feet, the manual release handle is confirmed to be reachable without a stepladder. None of this is hardware; it is simply the layout that lets the safety devices do their job.
Garage Door Safety Inspection
In the van
- Spring and cable gauges
- Lens cloth and cleaner
- Remote and keypad batteries
- Inspection checklist and report form
- Socket set and nut drivers
What affects the quote
Same fees day, night or weekend
1Opener type and age
A current opener with photo eyes, a keypad and several remotes has more devices to test than an older unit with contact reversal alone, and the test procedures differ by model.
2An impact to trace
After a vehicle or object has hit the door, the technician follows the force through the hardware and photographs each point, which is a deeper assessment than a routine check.
3What is stored around the door
Shelving under the spring shaft, bikes along the tracks or a car left inside slow the visual walk. Clearing the area beforehand keeps the inspection to its planned length.
Garage Door Safety Inspection: questions
What are photo eyes, and how are they tested?
They are the two small sensors low on each side of the opening, one sending a beam and the other receiving it. The technician confirms both indicator lights hold steady, that the units sit at the height the opener maker specifies, and that the lenses are clean and the wiring secure. Then a close cycle is started and something is passed through the beam; the door should reverse. Misalignment or a grimy lens is corrected on the spot.
How should I prepare for the appointment?
Move the car out if you can and clear a metre or so in front of the door and along both tracks so the technician can reach the hinges and brackets. Find the door and opener manuals and any earlier repair paperwork. Have every remote and the keypad code to hand. If something has changed lately, be ready to say when and what you noticed first. If the door looks wrong, leave it where it is.
Is the inspection a repair visit?
It is a look and a record first. Small maintenance items such as lubrication, cleaning and aligning the photo eyes and tightening fasteners can be done on the spot if you wish. Anything involving spring tension, cables, drums, worn rollers or damaged sections is written up with a clear explanation and quoted as its own job, so you decide with the full picture in front of you.
Repair & Maintenance
- Off-Track Garage Door ResetThere was a loud bang from the garage, then silence.
- Garage Door Panel ReplacementRust has crept along the bottom edge of the lowest section.
- Garage Door Bottom Seal ReplacementThere are mouse droppings along the wall behind the recycling bins, and at one bottom corner of the…
Garage Door Safety Inspection near you
Broken spring, snapped cable, door off the track, opener humming but not lifting, remote lost, seal cracked, panel dented, door too loud for the bedroom above: those are the calls we take from Hamilton, and each has its own service page explaining how we handle it.