Openers · Hamilton
Photo-Eye Sensor Alignment or Replacement
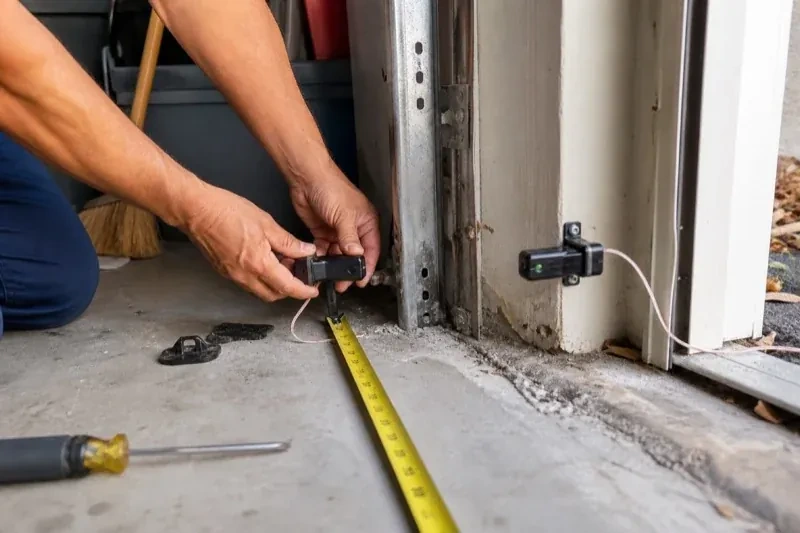
After a cold night the door stays open until the garage warms up. There is frost on the sensor lenses and a ridge of salty slush piled against the brackets where the snow blower was parked.
Photo-Eye Sensor Alignment or Replacement
In plain words
Most sensor visits end in alignment rather than new parts. The brackets that hold the sensors ride on the door track or the wall, and they get bumped by bins, tires and shovels until the two lenses no longer look at each other. The technician resets both sensors to the same height, loosens the wing nuts, aims the pair until the receiving light holds steady, tightens everything and secures the wire. Replacement is the answer when a lens is crazed, a housing is cracked, water has got inside or the indicator stays dark with good wiring, and then a pair matched to the opener is fitted.
How the visit goesAfter a cold night the door stays open until the garage warms up. There is frost on the sensor lenses and a ridge of salty slush piled against the brackets where the snow blower was parked.
Hamilton
How the visit goes
Starting with the story
The first minutes are spent listening. What does the door do when close is pressed: drop and bounce, stay put, or close only while the wall button is held? Does the opener light blink, and how many times? When did it start, and what changed around then: a car bumped the track, a storm, shelving went up, the garage was reorganised, the first frost arrived? Does it happen at all hours or only on bright mornings? Those answers usually point at one of a handful of causes before a single tool comes out, and they decide whether the technician heads for the brackets, the wire or the head unit first.
Repairing the wire run
Damaged wire is dealt with in whole sections rather than patched at a single point. A pierced or chewed length is cut back to sound insulation and either spliced with proper connectors or, more often, replaced from the sensor to the nearest good junction. Where the run has failed in more than one place, a fresh two-conductor wire is stapled from the motor housing across the ceiling and down both sides of the opening, kept clear of the track, hinges and the door's travel. At the head unit the pair is landed on the correct low-voltage terminals with polarity confirmed, and the sensor lights are checked before anything is tidied.
A door that closes from the driveway again
The change you notice first is the ordinary one: you press the remote from the car, the door goes all the way down, and nobody has to stand in the garage holding a button. Behind that is a beam that is once more crossing the doorway at the right height, a pair of sensors that agree with each other, and an opener that is no longer flashing a warning every time you ask it to close. The door still stops and returns to open whenever the beam is broken, which is exactly what it should do, and now it does that only when something is genuinely in the way.
Photo-Eye Sensor Alignment or Replacement
In the van
- Wall or floor angle brackets
- Track-mount sensor brackets
- Protective wire channel
- Concrete anchors
- Receiving-eye sun shade
What affects the quote
Same fees day, night or weekend
1Corrosion reaching the head unit
Where salt and water have travelled up the wire to the terminals, or the sensor terminals on the board are damaged, the repair extends beyond the pair and that is set out separately.
2Wall or floor mounting with anchors
Mounting into concrete or masonry rather than onto the track means drilling, anchors and sealing against water, which takes more time than clipping to the rail.
3Undoing an earlier shortcut
Sensors taped together beside the motor, mismatched pairs from different generations or a bypassed circuit are put right first, which means new wire down each side and fresh brackets at the doorway.
Photo-Eye Sensor Alignment or Replacement: questions
Could the wiring be the problem rather than the sensors?
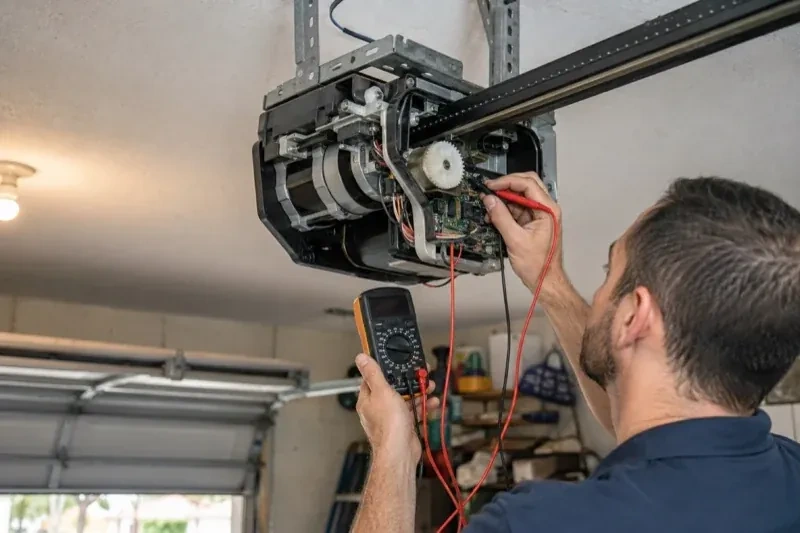
Frequently. The sensors are fed by a thin two-conductor wire from the head unit that crosses the ceiling and drops down both sides of the door, and it is pierced by staples, cut by shelving screws, chewed by mice or pulled from its terminals more often than a sensor fails. Both sensor lights dark, or an opener code for an open or reversed circuit, points to the wire. The technician tests the run with a meter and repairs or replaces the damaged section.
Can cold weather affect the sensors?
It can, in a few ways. Frost or condensation on a lens in an unheated garage dims the beam until it clears. The low winter sun reaches further across the floor and into a receiving eye. Old wire insulation cracks in the cold and shorts. Salt slush builds against brackets and corrodes them and the terminals over the years. Each of those has a straightforward remedy: cleaning, a shade or side swap, a fresh wire run, or brackets set above the slush line.
Is it all right to keep using the door until the visit?
Use the door in a way that keeps you in control. If the opener closes only while the wall button is held, do that only while you can see the whole doorway and nobody is near it. Otherwise close the door first if you can, then move it by hand with the manual release, and get help if it feels heavy or binds. Keep children and pets clear during any test. A door that reverses is being cautious on your behalf.
Openers & Access
- Chain-Drive Opener RepairThe door opens about a third of the way and stops.
- Belt-Drive Opener RepairThe belt looks fine from a distance, but up close the rubber has cracked across the back in dozens…
- Garage Door Opener ReplacementPress the button and the motor hums, but the door stays exactly where it is.
Photo-Eye Sensor Alignment or Replacement near you
Broken spring, snapped cable, door off the track, opener humming but not lifting, remote lost, seal cracked, panel dented, door too loud for the bedroom above: those are the calls we take from Hamilton, and each has its own service page explaining how we handle it.