Repairs · Cherry Heights
Garage Door Bottom Seal Replacement in Cherry Heights
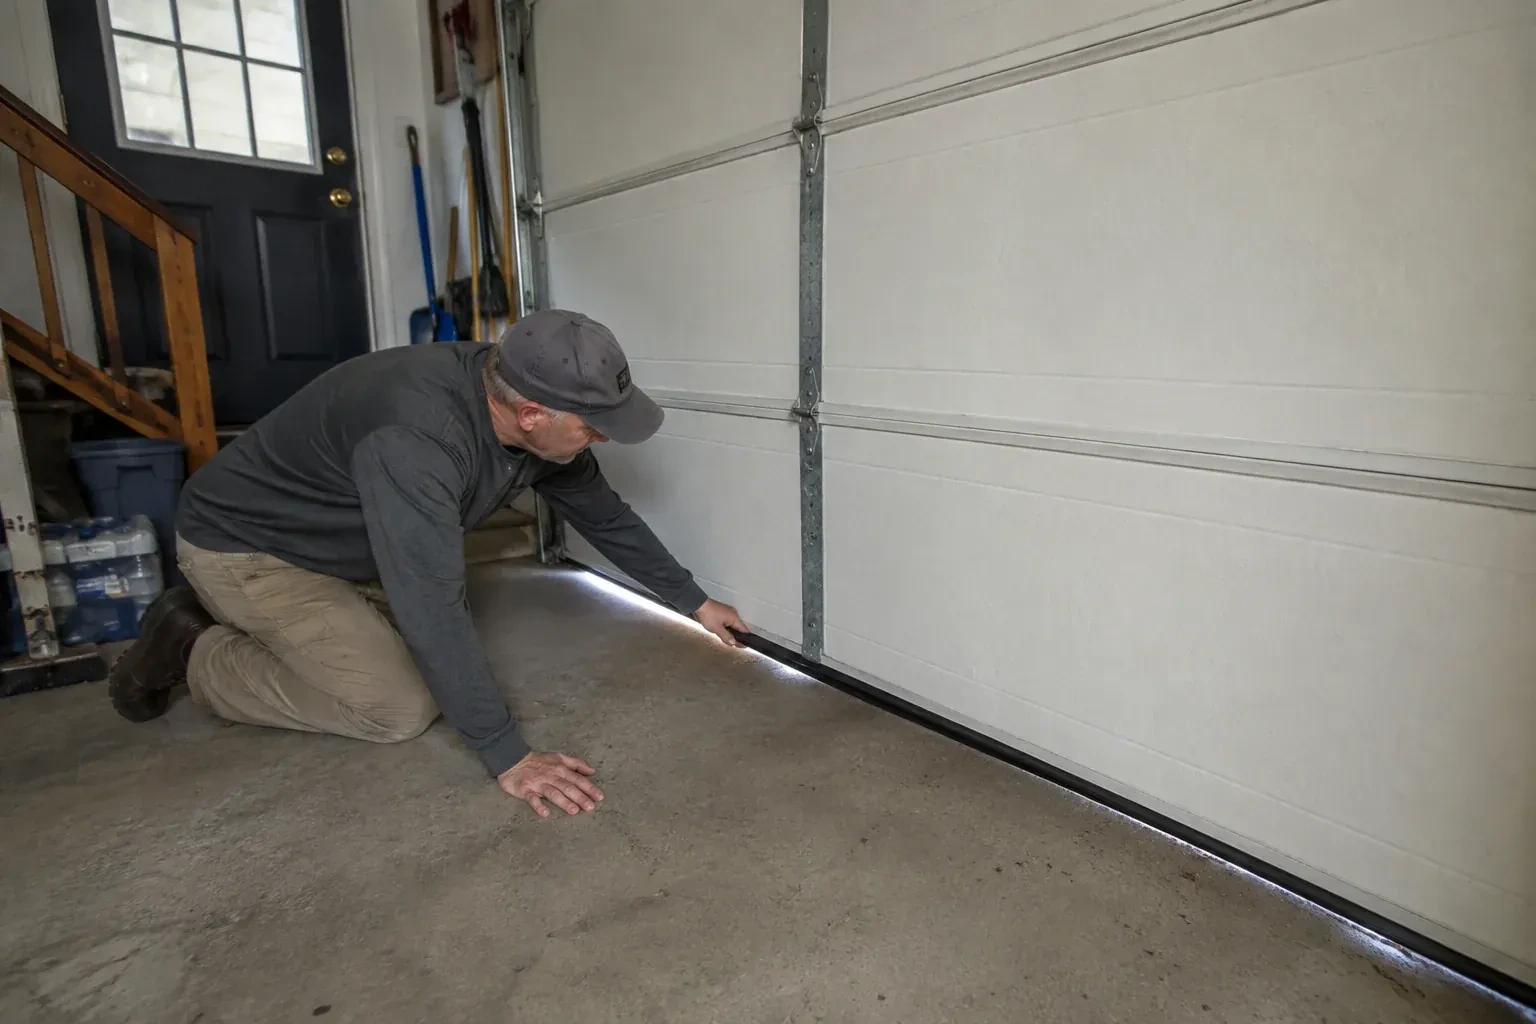
There are mouse droppings along the wall behind the recycling bins, and at one bottom corner of the door the vinyl has a neat chewed notch the width of a thumb. Something has found its way in for the winter.
Garage Door Bottom Seal Replacement
In plain words
In this climate the bottom seal lives a hard life. Meltwater from the car pools at the threshold and freezes the seal to the slab, and the next press of the remote tears it or drags it out of its channel. Road salt stiffens the vinyl and eats the aluminum retainer; deep cold turns a supple strip rigid. Replacement puts a cold-rated profile on a sound retainer, sized to meet the floor without over-compressing, and the technician shows how a wipe of silicone each autumn and a clear threshold keep the new strip from bonding to the ice. The door closes softly onto rubber again, not onto a frozen ridge.
How the visit goesEvery mild afternoon the snow melts off the car, runs to the door, and by morning the rubber strip along the bottom is frozen to the concrete. Last week the opener lifted the door and left half the seal on the floor.
Cherry Heights
How the visit goes
Why the old seal failed
The old strip is read for its history before it comes off. Cracks along the fold and a chalky surface point to sun and age. A flattened bulb that no longer springs back is compression set. A torn edge at one end usually means the seal froze to the floor and the opener pulled it free. Chew marks say rodents. A strip that has slid partly out of its channel points to a bent or opened retainer, or to a seal that was slightly the wrong size. Each of these leads to a different choice of material, profile or retainer work, so the new seal is spared the fate of the old one.
Fitting a new retainer where needed
If the inspection found a retainer that is bent, corroded or spread open, it is replaced before the seal goes in. The old extrusion is unscrewed or its rivets drilled out, the bottom rail is cleaned and any rust treated, and a new aluminum retainer is fixed straight along the rail with fresh self-drilling screws, checked with a straightedge so the channels run true. Fastener heads are sealed against meltwater. On a door whose channel was moulded into a plastic bottom cap, a screw-on retainer is fitted over the rail so a standard seal can be used from now on.
The opener stays in step with the seal
The opener was reset to the new seal height, and it will hold that setting until something changes. If the door begins to reverse just before the floor, stops short and leaves a gap, or lands with a thump, the down limit or force has drifted or the seal has taken a set, and a small adjustment puts it right. The reversing test with a 38 mm (1.5 in) solid object, or a 2x4 laid flat under the door, is worth repeating monthly and after any adjustment, as the industry checklist for homeowners describes. A door that closes gently and reverses on an obstruction is one whose seal and opener are working together.
Garage Door Bottom Seal Replacement
In the van
- Nail-on vinyl strip for wood doors
- Threshold seal and adhesive
- Aluminum bottom seal retainer
- Self-drilling retainer screws
- Track clamps
What affects the quote
Same fees day, night or weekend
1Door width
A single door takes a shorter length of seal than a double, and the widest doors need more time to feed the strip evenly across. The quote starts from the width measured on the day.
2Season and conditions
A seal frozen to the slab, ice at the threshold or working in deep cold adds time for freeing the old strip, clearing the line and keeping the new roll warm enough to feed.
3Floor and threshold shape
A dished, sloped or heaved slab may call for a taller bulb profile or a threshold seal on the floor, each of which is quoted as a separate choice you can accept or leave.
Garage Door Bottom Seal Replacement: questions
How long should I allow for the work?
Plan on an hour or two for a straightforward replacement on a standard door, including the inspection and the opener reset. A retainer replacement, a hardened seal that has to come out in pieces, a wood door with a nail-on strip or the addition of a threshold seal each add time. The technician will give you a realistic window once the door has been looked at.
Should I choose the tallest seal available?
Not as a rule. The seal should fill the measured gap with a little compression to spare. A profile far taller than the gap gets squashed flat, wears at the fold, bows the bottom section and can make the opener reverse. Where the floor dips at one end, a taller bulb is the right call for that door; where the floor is flat, a standard height lasts longer. Measuring first is what settles it.
What happens during the visit?
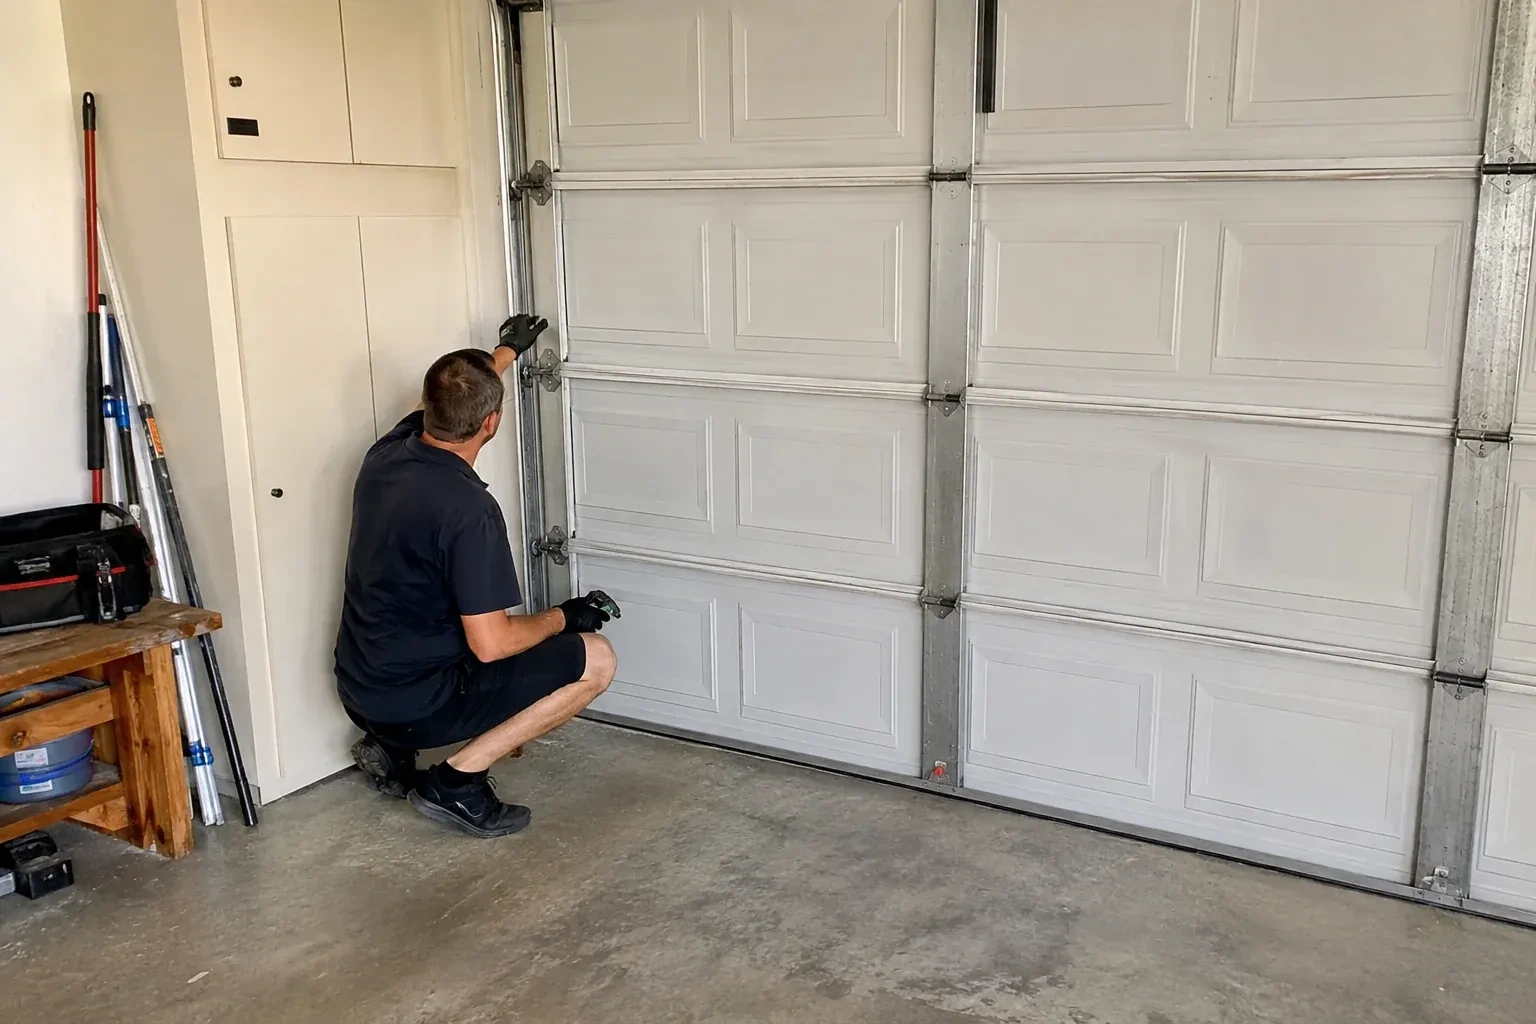
The technician maps the gap with the door closed, checks the door is level and the bottom section straight, and identifies the retainer and profile. The opener is disconnected and the door clamped at working height. The old seal comes out, the channels are cleaned, a new seal is cut and fed in, and any retainer work is done. The door is then closed under power, the opener reset, and the reversing and photo-eye tests run.
Repair & Maintenance
Garage Door Bottom Seal Replacement near you
The services below are the ones we perform most often for garage doors in Cherry Heights. Springs and cables top the list, followed by opener repairs, roller and hinge replacement, seal and weatherstrip work, balance and safety adjustments, remote programming and, when the time comes, new doors.